

What to Know About Installing New Floors
- Dec 11, 2025
- 5 min read
New floors change how a room feels underfoot, and how it reads in photos. The best projects start with clear goals, a simple room plan, and realistic expectations about dust and disruption. Good prep saves time later, and it also keeps materials performing as they should.
If you are weighing durable timber alternatives, consider strand bamboo in sizes that fit real rooms. Many homeowners like the look and proportions of strand carbonized wide plank flooring for long sight lines and fewer seams across open spaces. It pairs well with light walls, natural textures, and simple trim details.
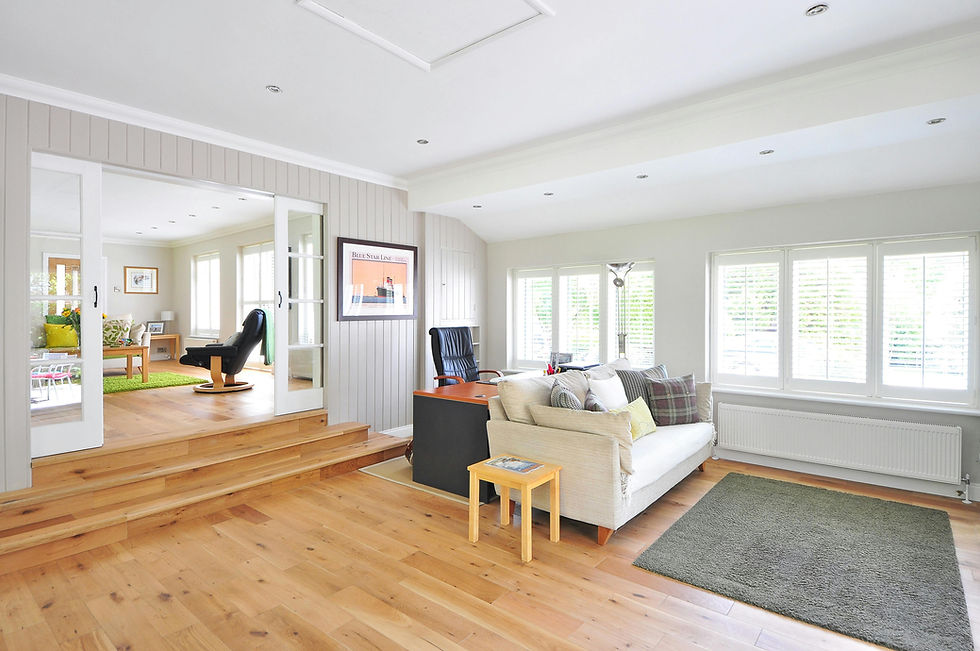
Image by Pixabay
Check The Subfloor You Already Have
Every floor only performs as well as the layer beneath it. Start by finding out whether your subfloor is plywood or concrete, since each path changes materials and tools. Look for squeaks, dips, and soft spots that might telegraph through a new surface later.
Moisture testing is not optional in kitchens, bathrooms, and basements. Use a simple pin meter for wood and a calcium chloride test kit for concrete. Fix high readings before thinking about adhesives or nails, since trapped moisture can cause unwanted movement later.
High spots and low spots matter because stiff planks span them without bending. Sand down ridges with a floor sander, and fill shallow birdbaths with a compatible leveling compound. Recheck with a long straightedge, because even small highs and lows affect seam quality.
Where old floors remain, confirm thickness and fastening. Tighten loose boards with screws set just below the surface. Vacuum well, then apply a clean underlayment where needed for sound, vapor control, or minor flattening across the whole field.
Quick Checks Before You Proceed
Subfloor is clean, flat, and sound after repairs and leveling.
Moisture readings are within the recommended range for your substrate.
Transitions and door clearances have been measured and planned.
Measure, Acclimate, And Plan The Layout
Room measurements should include nooks, closets, and door swing paths. Add ten percent extra material for cuts, waste, and future patch jobs. That small buffer stops mid-project shortages, and it also covers pattern choices like herringbone borders at entries.
Acclimate bamboo planks in the installation rooms so temperature and humidity match the space. Stack boxes flat and open them so air can move between layers. Give the material enough time to settle, then confirm plank moisture with a meter before fastening or gluing.
Plan the layout so full boards land where the eye works hardest. Run long planks parallel to the longest wall, or along incoming daylight, for a neat read. Dry lay several rows to check board lengths, color flow, and seam staggering before making any permanent moves.
Your expansion gap matters because wood based floors respond to seasonal changes. Leave a consistent gap at perimeters, around pipes, and under door casings. Use wedges or spacers so that gap stays even while you work across the room.
Choose The Right Installation Method For The Space
Thick bamboo planks often allow nail down or glue down installation. On wood subfloors, a nailer with the correct cleat size creates a solid mechanical hold. On concrete, a quality moisture barrier and the right adhesive build the bond that resists shear forces over time.
Read the adhesive manufacturer’s spread rates and trowel notch size, then follow them closely. Too little adhesive weakens the bond, and too much bleeds up the seams. Keep a damp cloth handy for squeeze out, and clean as you go before anything cures on the surface.
Ventilation matters during adhesive work, particularly in small rooms with closed windows. Fresh air helps manage odors and supports curing time for better results. Simple steps like opening windows and using fans are helpful, as covered by the EPA guidance on home ventilation, which explains basic airflow practices for safer indoor projects.
If you are nailing to a wood subfloor, fasten on the manufacturer’s schedule for spacing and angle. Add fasteners at board ends, near walls, and at short offcuts. Keep seams at least six inches apart in adjacent rows, since tight clusters draw attention and can weaken the field.
Work Clean, Mind Gaps, And Handle Transitions
Clean work leads to tight seams and fewer touch ups after the last row. Vacuum each course before placing the next, since small grit stops boards from seating. Wipe end joints before tapping them together so nothing keeps the tongue from closing fully.
Mindboard selection as you go, since color and grain vary from box to box. Pull from three boxes at once to blend tone across the room evenly. Place slightly darker boards in low light corners, and reserve clear boards for the most visible runs.
Plan door bars and thresholds before your last three rows. Measure metal tracks, stair nosings, and reducers, then cut them cleanly with the correct blade. Dry fit every transition, since a snug fit against differing surfaces looks tidy and lasts longer.
Mark radiator pipes and floor outlets carefully, then drill clean holes with sharp bits. Use matching filler rings or neat undercut collars for a finished look around pipes. Keep your expansion allowances in those tricky spots so seasonal movement remains free.
Aftercare That Protects Your Investment
Fresh floors perform better when the room stays within a healthy humidity band. Use a simple hygrometer and run a dehumidifier or humidifier during peak seasons. Small tools like felt pads under chairs also prevent scratches that develop into larger scars.
Clean with a neutral cleaner and a barely damp microfiber pad. Skip steam and abrasive powders that can haze finishes or force moisture between boards. Place door mats at entries, and ask guests to remove shoes during wet weather for longer surface life.
Look for third party emissions labels when choosing new wood based products for adjacent rooms. Programs from public agencies provide helpful context for indoor air quality across building materials. The CARB composite wood page explains how low emission standards reduce formaldehyde in many household products.
Keep a small reserve of your planks for future repairs. Label the box with room name and install date, then store it flat in a dry closet. A tidy stash makes later patch work faster, cheaper, and far less stressful than ordering a new batch.
Bringing The Room Back Together
Once the last board clicks home, you still have a few small tasks. Rehang doors, set thresholds, and touch in trim where saws grazed fresh paint. Move furniture back on clean sliders, then check your humidity readings over the next week.
Good floors begin with a flat base, measured layout, and the right fastening method. Careful acclimation and clean habits during work keep seams tight and lines straight. A simple upkeep plan then protects the finish so the room stays calm, warm, and ready for daily life.